CREATIVE STUDIO EDITOR GUIDE
How to Edit AI Ads With Creative Studio Editor in 2026
Refine generated ads after creation by adjusting text, shapes, stock imagery, image elements and layer order before export.
Disclosure: This page may contain affiliate links. We may earn a commission at no extra cost to you if you sign up through these links.
AI generation is often fastest at creating a strong draft. The editor is where that draft becomes specific to the campaign.
AdCreative.ai's current help center says the Creative Studio Editor is accessed from a generated project's page. The left side includes elements such as shapes, text and stock images, while the editor also supports image editing, deletion, undo-style retracing and layer adjustment.
This makes the editor useful for correcting hierarchy, replacing weak images, adapting text and fixing generated layouts without rebuilding the ad in another design tool.
For the wider strategy around generating, testing and improving advertising assets, see our complete AI advertising guide.
What This Workflow Means in Practice
Refine generated ads after creation by adjusting text, shapes, stock imagery, image elements and layer order before export.
The goal is not to automate judgment. The goal is to reduce repetitive work while keeping the final campaign accurate, on-brand and measurable.
What Inputs Matter Most?
| Input | Why It Matters |
|---|---|
| Generated creative | The starting ad that needs refinement. |
| Approved copy | Headline, supporting text and CTA that should appear in the final design. |
| Brand assets | Logo, product image and other approved visual elements. |
| Stock imagery | Optional supporting visuals when the generated image is not strong enough. |
| Layer structure | Controls what appears in front or behind other elements. |
| Final placement | Determines how much text, spacing and visual hierarchy the ad needs. |
What to Prepare Before You Start
- Generate the creative first because the editor is accessed from the generation page.
- Know exactly what is wrong before editing.
- Keep the original version so you can compare changes.
- Prepare approved replacement images and copy.
- Prioritize hierarchy and readability before decorative details.
- Review the final ad at the size users are likely to see it.
Important: Better source inputs reduce the amount of guessing the AI or calculator has to do.
How to Edit AI Ads With Creative Studio Editor: Step by Step
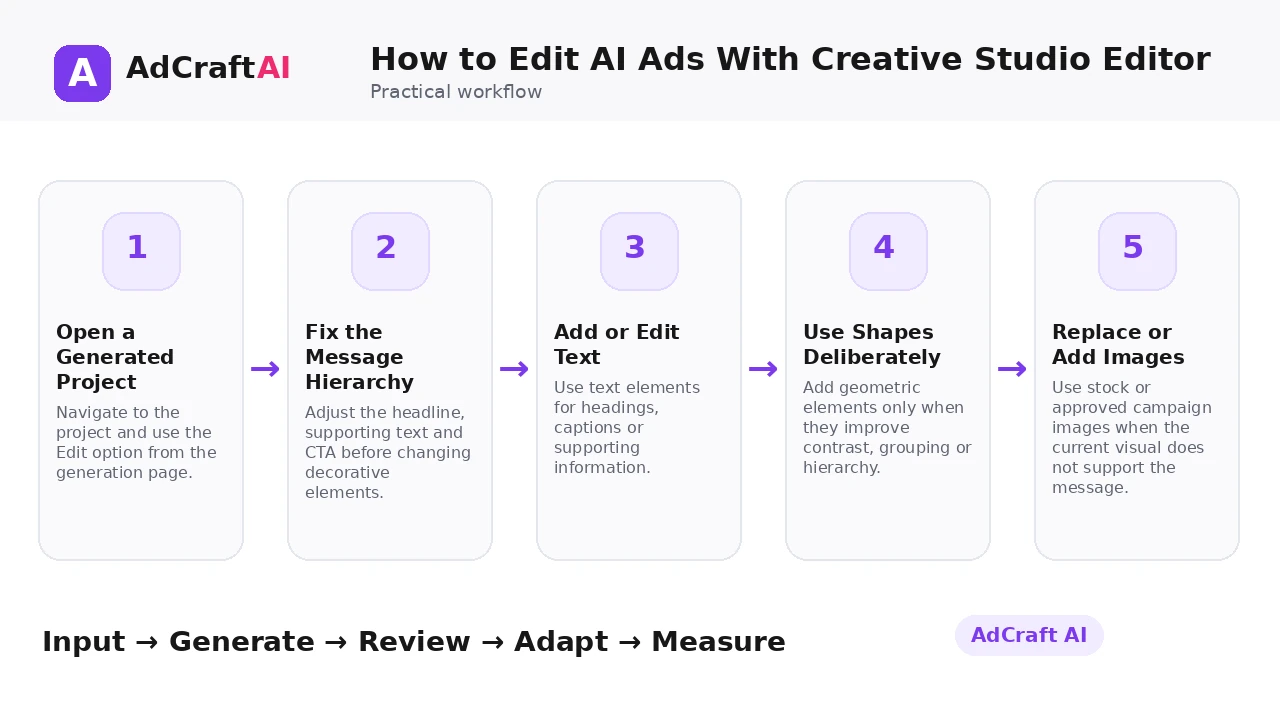
1. Open a Generated Project
Navigate to the project and use the Edit option from the generation page.
2. Fix the Message Hierarchy
Adjust the headline, supporting text and CTA before changing decorative elements.
3. Add or Edit Text
Use text elements for headings, captions or supporting information.
4. Use Shapes Deliberately
Add geometric elements only when they improve contrast, grouping or hierarchy.
5. Replace or Add Images
Use stock or approved campaign images when the current visual does not support the message.
6. Adjust Layers
Move elements forward or backward so text, product and CTA remain readable.
7. Review and Retrace
Delete weak changes or step back when an edit makes the layout worse.
8. Export the Final Version
Download only after the ad is accurate, readable and ready for the intended placement.
What You Can Edit in AdCreative.ai Creative Studio Editor
AdCreative.ai's current help documentation says the editor is available from the generation page after a project has been created.
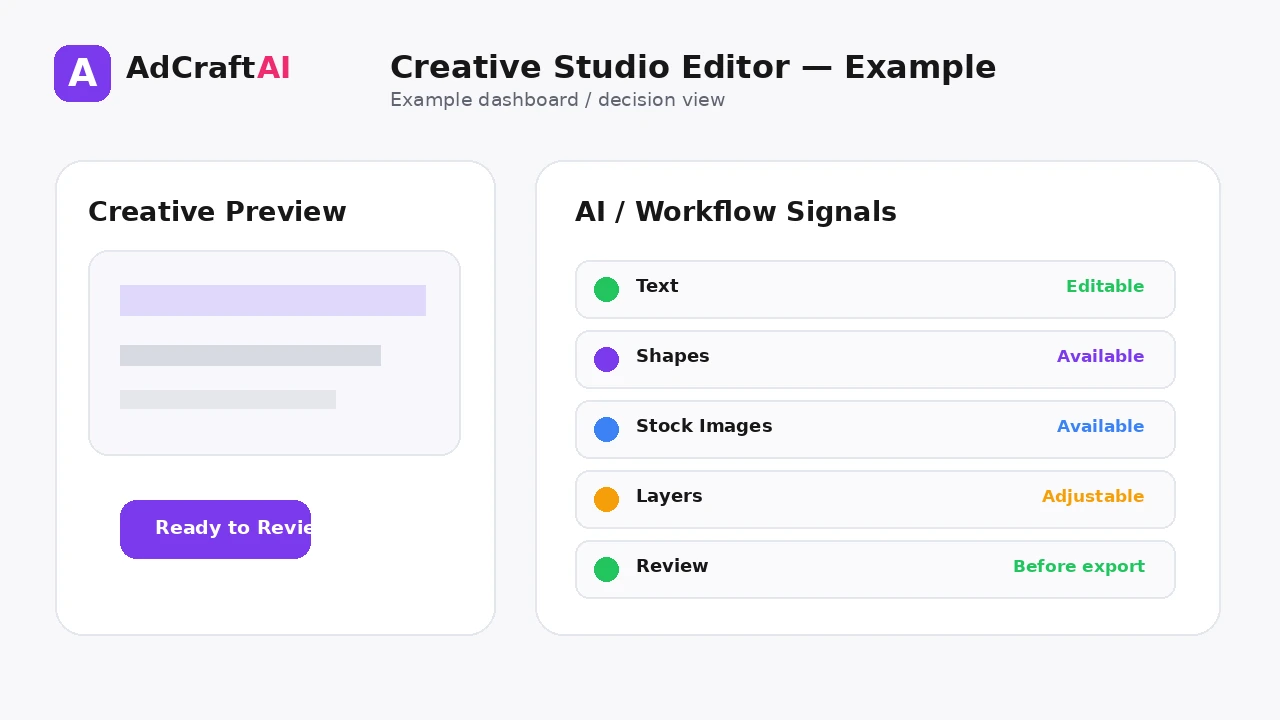
The editor includes elements such as Shapes, Text and Stock Images. The help article also covers editing images and shapes, adding images, deleting elements, retracing steps and adjusting layers.
That makes the editor a useful finishing layer: generation creates options quickly, while editing gives you control over the final hierarchy and campaign-specific details.
Explore This AdCreative.ai Workflow
Use the feature as a starting point, review the generated or estimated output carefully, and validate the final decision with your own campaign or operational data.
Explore AdCreative.ai →What to Review Before You Use the Result
| Review Area | What to Check |
|---|---|
| Headline readability | Is the main message readable at realistic mobile size? |
| CTA visibility | Can the viewer identify the next action quickly? |
| Product focus | Does the edited layout still keep the product or offer visually important? |
| Image quality | Are replaced or stock images sharp and contextually appropriate? |
| Layer order | Are text and CTA hidden behind decorative elements? |
| Brand consistency | Do typography, colors and spacing still match the brand? |
Practical Example: Fix a Generated Ad in Four Edits
Suppose the generated ad has a good product image but weak hierarchy.
Edit 1: Shorten the headline and increase its contrast.
Edit 2: Move the product slightly so the headline gets clean negative space.
Edit 3: Add a simple shape behind the CTA for readability.
Edit 4: Adjust the layer order so the CTA and product are not covered.
The goal is not to redesign everything. Keep what works and fix the few elements that block clarity.
Common Mistakes
Editing without a goal
Random adjustments often reduce consistency.
Using too many shapes
Decoration can compete with the message.
Adding more copy instead of improving copy
The editor should not become a place to overload the ad with information.
Ignoring layer order
A good design can break when one element accidentally covers another.
Replacing images with unrelated stock
Visual relevance matters more than novelty.
Never comparing with the original
Keep the starting version so you can see whether the edit actually improved the ad.
Best Practices
- Use accurate source information and current offers.
- Generate a small number of meaningful variations before expanding volume.
- Change one important variable at a time when testing.
- Keep the final creative consistent with the landing page and brand.
- Use AI scores, calculators or suggestions as decision support rather than guarantees.
- Let live campaign data determine the next creative iteration.
A Simple Repeatable Workflow
- Define one campaign or production goal.
- Prepare the source inputs.
- Generate or configure a small first batch.
- Review accuracy, hierarchy and brand fit.
- Edit or remove weak variations.
- Adapt the strongest version for the target placement.
- Run a controlled test or operational check.
- Measure the result.
- Use what you learned to create the next iteration.
Continue Building Your AI Advertising Workflow
Frequently Asked Questions
How do I access Creative Studio Editor?
AdCreative.ai's help center says you first generate a project, then use Edit from the generation page.
Can I add text?
Yes. Text is one of the documented elements available in the editor.
Can I add stock images?
Yes. Stock Images are listed as an editor element.
Can I change layer order?
The current help article includes layer adjustment as part of the editor workflow.
Can I undo changes?
The help documentation describes retracing steps in the editor.
Should I edit every AI-generated ad?
Not necessarily. Edit when the draft needs better hierarchy, accuracy, branding or placement fit.
Official Resources
Product features, limits and calculator assumptions can change. Use the official resources below to verify the current workflow before relying on a specific capability.
Final Thoughts
Refine generated ads after creation by adjusting text, shapes, stock imagery, image elements and layer order before export.
The strongest workflow combines faster production or analysis with human review and real performance data. Use AI to create more useful options—not to remove accountability from the final decision.
Explore More AdCreative.ai Tools
Compare the workflow with your current creative process and use the features that remove genuine production or analysis bottlenecks.
Discover the AI Tool →